

.avif)


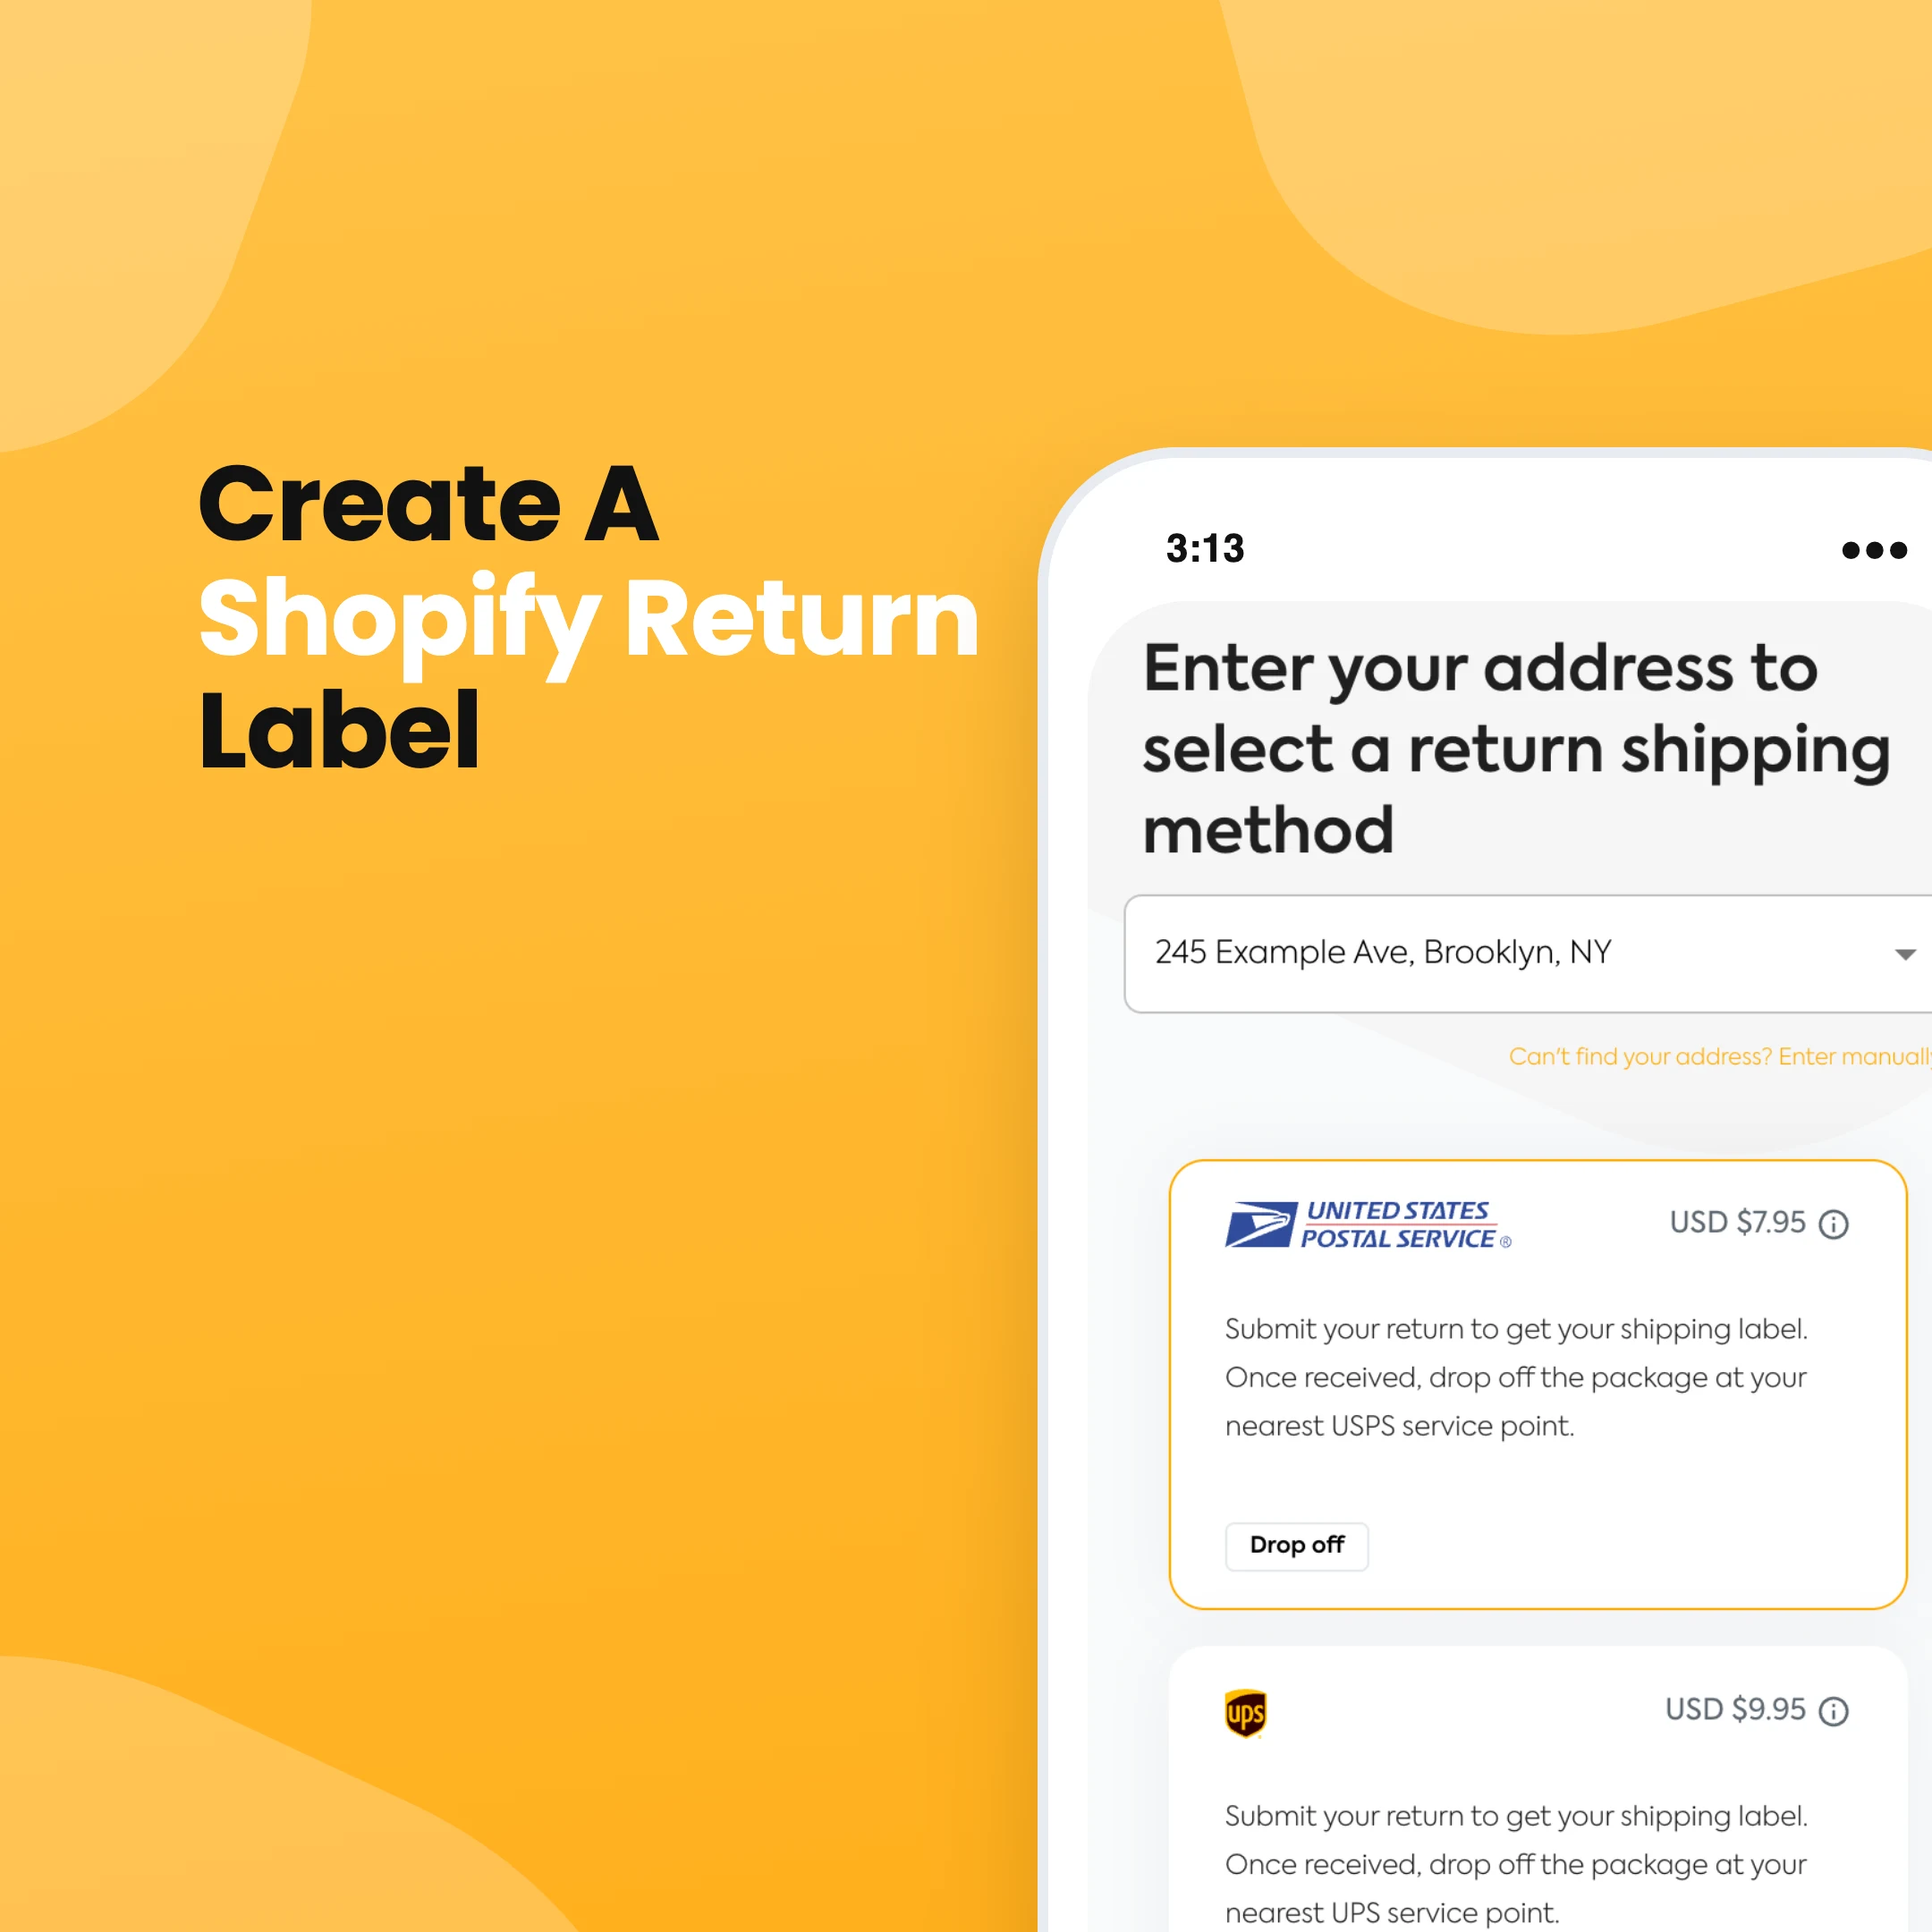


Sending a customer a return label is one of those jobs that should take seconds and often doesn't. Shopify can create return labels for you, but only in some cases. Outside those, you're copying addresses into a carrier website and emailing PDFs around. Whether Shopify can do it for you mostly comes down to where you and your customer are.
The short version
In your Shopify admin, go to Orders and open the order. Click Return, choose the items and a return reason, then under Return shipping options select Create a return label in Shopify. Click Create return and Shopify emails the label to the customer.
Can you create a return label in Shopify?
Yes, if your store and your customer are both in the United States. Shopify's built-in return labels need your primary location and the customer's shipping address to be in the US, so they cover US domestic returns only. If you ship from Canada, Australia, the UK or anywhere else, or your customer is overseas, Shopify can't buy the label for you. You can still attach one you've made elsewhere, which we cover below.
Shopify has also added UPS return labels for US domestic orders. You can pay Shopify's discounted UPS rates or connect your own UPS account. You're only charged when the carrier scans the label, and unused labels expire after six months at no cost.
How to create a return label in Shopify
- From your Shopify admin, go to Orders and click the order.
- Click Return. If the order still has unfulfilled items, click More actions > Return instead.
- Under Select quantity to return, enter how many of each item are coming back.
- Choose a Return reason for each item.
- Check the Summary. If your return rules charge for return shipping or a restocking fee, it shows here and you can edit it.
- Under Return shipping options, select Create a return label in Shopify and choose the carrier and service.
- Click Create return.
The customer gets an email with the label, or you can share a link to it. Once the parcel is moving, you can follow the tracking from the order.
If you use self-serve returns, the flow starts with the customer. They request the return from their order page, and when you approve it in the admin you can send them a label in the same step.
How to add a return label you made somewhere else
If Shopify can't create the label, buy it from your carrier or shipping app, then attach it to the return so everything stays on the order.
- Open the order and click Return.
- Choose the items and return reasons.
- Under Return shipping options, select Upload a return label.
- Upload the label as a PDF, PNG or JPEG, or paste a link to it.
- Add the Tracking number and Shipping carrier so you can follow it.
- Click Create return.
If the customer is arranging their own postage, pick the same option and just add their tracking details. For returns that don't need shipping at all, like a store drop-off, select No shipping required.
Who pays for the return label?
Decide this once and put it in your return policy, so customers know before they buy. Shopify's return rules give you three options under Settings > Policies:
- Free return shipping, where you cover the label
- A flat fee per return, which Shopify takes off the refund
- Customers buy their own return label
Free returns are easy to sell but you pay for every one, including the people who were never going to keep the item. A flat fee covers most of your cost and still feels fair to customers. Some stores make returns free when a customer chooses store credit or an exchange, and charge when they want their money back. Shopify's rules can't tell those apart, but a returns app can. Our guide to how to do returns on Shopify covers how labels fit into the rest of the returns process.
When a returns app is worth it
Shopify's labels work well for a US store shipping US orders, with you creating each return by hand. Once you sell outside the US, use more than one carrier, or have more returns than you want to create one at a time, it gets fiddly.
With Refundid, the customer starts the return in your branded portal and gets the label straight away. Nobody on your team has to create it. You can connect your own carrier accounts, like Australia Post, NZ Post, USPS, UPS, FedEx or DHL Express, or work through EasyPost, Shippo, Starshipit or SEKO. If you don't have accounts, you can use ours. International returns come with the commercial invoice the carrier needs. With carriers that support it, like USPS and Australia Post, customers can get a code to show at drop-off instead of printing a label, which helps the people who don't own a printer.

You set what the label costs per carrier: free, a fixed price or the carrier's rate. Rules can change the price based on the return reason or what the customer chooses, so you can make exchanges free and charge for refunds. On refunds and store credit the cost comes off what the customer gets back, and on exchanges the customer pays it when they lodge the return. Tracking is pushed back to the Shopify return, so your team can see where every parcel is without leaving Shopify.
Still shopping around? Our list of the top Shopify returns apps compares the main options. Our Shopify returns page shows how Refundid handles labels, or you can book a demo and bring your carrier setup along.